Wiring a house from scratch is a significant undertaking that requires careful planning, adherence to safety standards, and knowledge of electrical systems. In Uganda, as in any other country, proper wiring is essential for ensuring the safety and functionality of your home’s electrical infrastructure. In this comprehensive guide, we’ll walk you through the step-by-step process of wiring a house in Uganda, covering everything from planning and preparation to installation and inspection.
Step 1: Obtain Necessary Permits.
Before you begin any electrical work, it’s crucial to obtain the necessary permits from the local authorities in Uganda. These permits ensure that your electrical installation meets regulatory requirements and is safe for use. Contact your local building authority to find out what permits are required for your project.
Step 2: Create a Wiring Plan.
Start by creating a detailed wiring plan for your house. Consider the layout of each room, the placement of outlets, switches, and lighting fixtures, and the electrical needs of your household. A well-thought-out wiring plan will help ensure that your electrical system meets your requirements and functions efficiently.
Step 3: Gather Materials and Tools.
Next, gather all the materials and tools you’ll need for the wiring project. This includes wires, conduits, electrical boxes, switches, outlets, circuit breakers, grounding equipment, and any other necessary components. Make sure to choose high-quality materials that comply with relevant standards and regulations.
Step 4: Install Wiring Conduits.

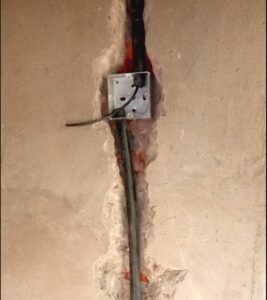
Begin by installing wiring conduits throughout the house. Conduits protect the wires from damage and make it easier to run and organize the wiring. Use appropriate types and sizes of conduits for different areas of the house, taking into account factors such as accessibility and environmental conditions.
Step 5: Run Electrical Wires
Once the conduits are in place, run electrical wires through them according to your wiring plan. Be sure to use wires of the correct gauge and type for the intended application, and ensure that they are properly secured and supported within the conduits.
Step 6: Install Electrical Boxes
Install electrical boxes at each outlet, switch, and junction point according to your wiring plan. Make sure that the boxes are securely mounted and properly grounded, and leave enough space inside for making connections.
Step 7: Connect Wiring to Outlets and Switches.
Connect the electrical wires to the outlets, switches, and other devices according to the manufacturer’s instructions and your wiring plan. Use wire connectors or terminal blocks to make secure connections, and double-check the polarity and continuity of the circuits.
Step 8: Install Lighting Fixtures Install lighting fixtures.
according to your wiring plan, following the manufacturer’s instructions for mounting and wiring. Test each fixture to ensure that it is functioning properly before proceeding.
Step 9: Install Circuit Breakers and Distribution Panels.

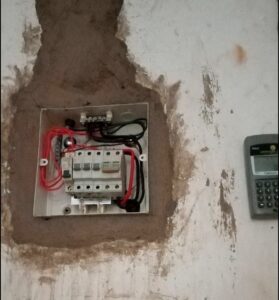
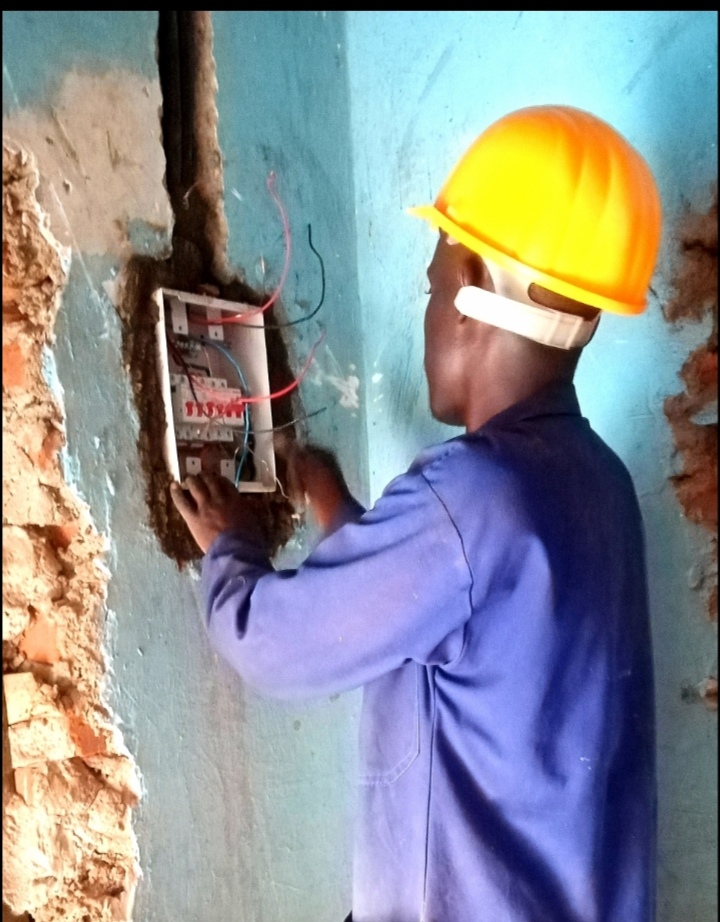
Install circuit breakers in the distribution panel according to your wiring plan, making sure that each circuit is properly sized and protected. Label the breakers clearly to indicate their corresponding circuits, and use proper safety precautions when working with electricity.
Step 10: Test and Inspect the Wiring.
Once the wiring is complete, test each circuit to ensure that it is functioning properly and that there are no faults or short circuits. Use a multimeter or circuit tester to check voltage, continuity, and insulation resistance. Inspect the entire electrical system for any signs of damage or defects.
Step 11: Finalize Connections and Coverings.
Make any final connections or adjustments as needed, and cover exposed wiring and electrical boxes with appropriate coverings or enclosures. Ensure that all connections are secure and that there are no exposed wires or hazards.
Step 12: Schedule Inspection.
Contact the local authorities to schedule an inspection of the electrical installation. The inspector will verify that the wiring meets regulatory requirements and is safe for use. Make any necessary corrections or adjustments based on the inspector’s recommendations.
Step 13: Finalize Documentation.
Keep detailed records of the electrical installation, including wiring diagrams, circuit plans, permits, and inspection reports. This documentation will be valuable for future reference and maintenance.
Conclusion:
Wiring a house in Uganda requires careful planning, attention to detail, and compliance with local regulations. By following this step-by-step guide, you can ensure that your electrical installation is safe, functional, and built to last. If you’re unsure about any aspect of the wiring process, don’t hesitate to seek guidance from a qualified electrician or building professional. With the right knowledge and preparation, you can successfully wire your house and enjoy the benefits of a reliable electrical system for years to come.


